Saturday, October 5, 2019

gardens 2019: sweet corn

I always try to write a single post reviewing the year's gardens,
but it soon becomes long and unwieldy.
So this year I'm going to try writing about individual "crops."
It will be helpful to me when I'm planning the 2020 garden adventure.

First up: sweet corn!

I grew miniature corn this year.
I didn't plant miniature corn, but that's what I grew.


'Bon Jour' Early Bicolor Corn
organic seed purchased from Renee's Garden Seeds

In the Spring we had unusually hot days and unusually cold nights, so the soil was slow to warm. Corn cannot germinate well until the soil is very warm - some say 65-70F - so I held off planting as long as I dared. But because corn also needs a long season, I finally had to cross my fingers and plant, along with the pole beans which I wanted to grow along with the corn.

Even though I waited until June 22nd to plant, the corn germination was much lower than expected, which was later reflected in the incomplete pollination of the ears. The stalks grew to 5 or 6 feet, and eventually, tiny ears appeared. For a couple of weeks in September it was a treat to pick 3 or 4 little ears every couple of days, and microwave them for a quick lunch.

The ears in the picture above were the very last, and are being rationed out to the hens as a treat. They really enjoy corn on the cob! And as I pull up the stalks - the ones that aren't still entwined with pole beans - I dole them out to the goats. Everyone likes variety in their menu.

Does anyone have recommendations for a sweet corn variety that might do well for me next year? If I have room, I'll plant a larger patch. Or maybe I'll grow popcorn again, like I did in 2016. (I only "remember" the year because I searched the blog for it!) Homegrown popcorn was a fun treat in the middle of winter.


~~~~~


Tuesday, September 17, 2019

tomato tip


I haven’t grown tomatoes for several years, but this Spring there were lots of organic heritage-type tomato plants for sale at the library fundraiser, so I brought a selection home and stuck them in the gardens. Five of the six have produced tomatoes on huge plants - I have never had such jungle-like growth from tomato plants! Perhaps my soil improvements have really made a difference, or maybe it was all the rain.


So far, only a couple of tomatoes have ripened, and I used them in a stew.
Without taking pictures of them first, darn it.
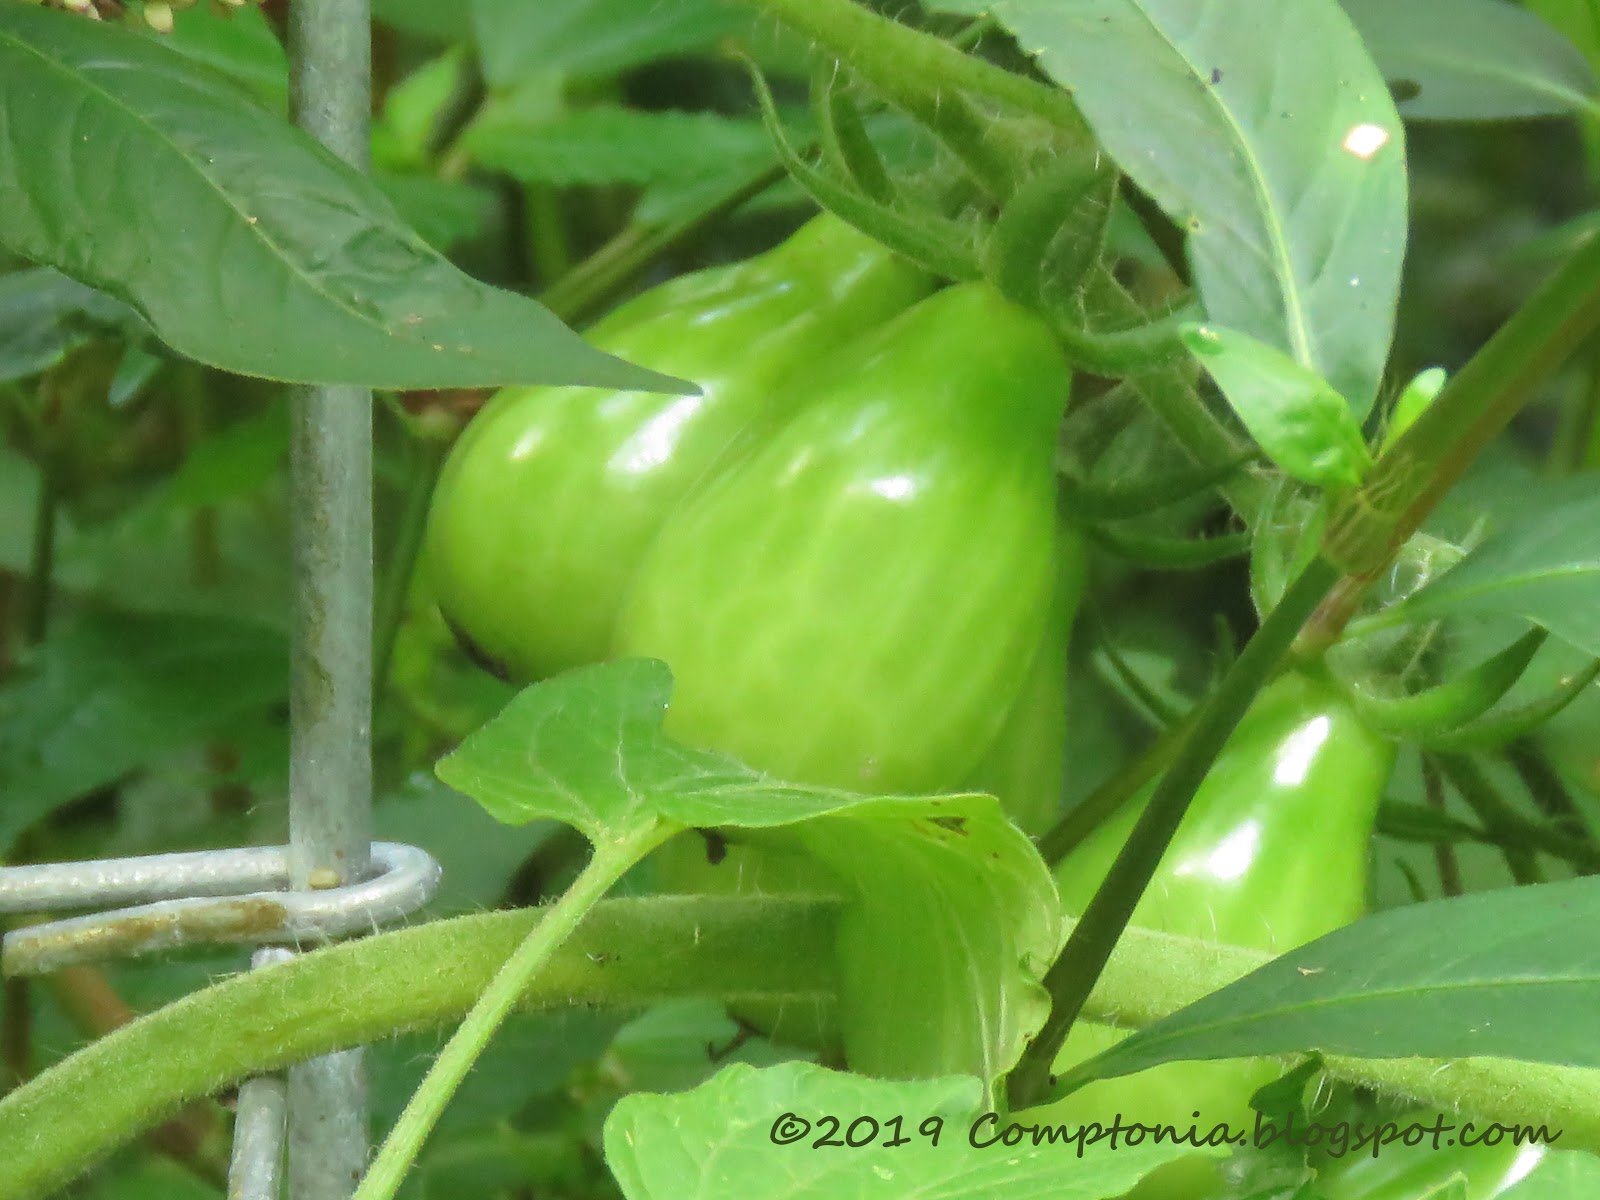
Which is why every picture in this post is of a green tomato.

But peeling those two ripe tomatoes before chopping them up to add to the stew made me think of a fun kitchen tip to share.


Yes! A cooking tip! Oh, this is a Special Event on the Comptonia blog!

Of course, it’s possible you all know this tip already...but we’ll see.

Ahem.

"The Easiest Way to Peel a Tomato"

Cut a small “x” in the bottom of a whole tomato.
Gently lower the tomato into a pot of boiling water.
Wait one minute.
Lift the tomato out and lower into a bowl of very cold water.
The peel will slip right off in your fingers.

This works even with wildly-shaped tomatoes, not just the perfectly globular ones.


In the interest of experimentation, or possibly because I forgot, I didn’t make the “x” on one tomato. It still worked, but I had to make a little cut after the cold water bath to get the peel started. If you make the “x” the tomato sort of begins peeling itself before you even take it out of the cold water.

That’s the tip! Did you already know it? If not, I hope you’ll try it. It’s magic.

Right now there are several very large green tomatoes and a few gradually ripening tomatoes on the plants. The weather will determine if I’ll be freezing any "extra" ripe tomatoes (if so, I will probably peel them and freeze them whole) or if I’ll be hastily harvesting lots of green tomatoes just before a hard frost. I don't really have a place to store green tomatoes for ripening, although I've had fairly good results doing that in the past. But I have another idea.


When I lived in Colorado, I once made a batch of green tomato chutney. I had never eaten chutney of any kind, and had no idea of how to use it, but back then I was fearless and had a lot of energy and a strong desire to raise and make all my own food. So even though the jars of chutney had to “cure” for 6 months before opening, I was game. And even though it took a few disappointing taste-tests before I hit upon the right “serve with,” when I finally tried it on ham, it was simply fantastic.

(And by the way, I had also raised the pigs that made the ham. And baked the bread that was served with the ham. And so on.)

So...if I end up with a lot of green tomatoes this year, I may try to find that chutney recipe and make another batch. I still remember how good the kitchen smelled when it was simmering on the stove. It would be worth doing it just for that!


Bonus tip:
Today I tried the same peeling method with some large plums.
It worked exactly the same way.

~~~~~

Sunday, September 15, 2019

sunday garden snaps


Rooting Old North Sea strawberry runners.


The Chelona has begun to shine.


I don't think I can post garden pictures without including the zinnias.


And here's a Painted Lady (Vanessa cardui) on a zinnia.
(You should probably click to embiggen this one.)


Goats happily soaking up the sun after yesterday's rain and gloom.


The Supervisor.


Are we all ready for the new week?
Let's hope it brings only good things.


~~~~~